


GOOFIT
Magneto Stator Coil for Honda TRX400 Rancher 400 AT (2004-2007) | 31120-HN7-003
Magneto Stator Coil for Honda TRX400 Rancher 400 AT (2004-2007) | 31120-HN7-003
Couldn't load pickup availability
Product overview
Restore Peak Power to Your Honda Rancher 400 AT
Don’t let a failing electrical system stall your off-road adventure. This GOOFIT Magneto Stator is precision-engineered to replace your faulty factory unit, providing the stable voltage your Honda TRX400 Rancher 400 AT needs for reliable ignition and consistent battery charging.
Exact Fit & Superior Performance
This stator is a direct replacement for OEM part numbers 31120-HN7-003 and 31120-HN7-000. Built for the 400cc Automatic Transmission (AT) models, it’s designed to withstand the high-vibration and extreme heat of utility riding.
Vehicle Compatibility
| Year | Make | Model | Submodel | OEM Part Number |
| 2004–2007 | Honda | TRX400FA | Rancher 400 AT | 31120-HN7-003 / 000 |
| 2004–2007 | Honda | TRX400FGA | Rancher AT GPScape | 31120-HN7-003 / 000 |
Technical Specifications
- Outer Diameter: 92mm (3.62")
- Inner Diameter: 35mm (1.38")
- Thickness: 19mm (0.75")
- Coil Type: High-efficiency multi-pole design
- Temperature Resistance: Up to 200°C
Key Features
- High-Grade Materials: Features premium copper windings resistant to 200°C and electro-conducting laminations for maximum efficiency.
- Plug-and-Play Installation: Matches factory mounting points and connectors—no modification required.
- Built for Extremes: Specialized insulation prevents short circuits in mud, water, and harsh trail conditions.
- Enhanced Charging: Eliminates flickering lights and weak starts by providing a steady power output.
Technical Support & DIY Guide
Confused about installation or not sure if your stator is actually dead? Read our professional mechanic's guide: [How to Diagnose & Replace your Honda Rancher 400 AT Stator]. We cover common ESP error codes, multimeter testing, and step-by-step swap instructions.
Share


Fitment FAQ
Will this part fit my specific model and year?
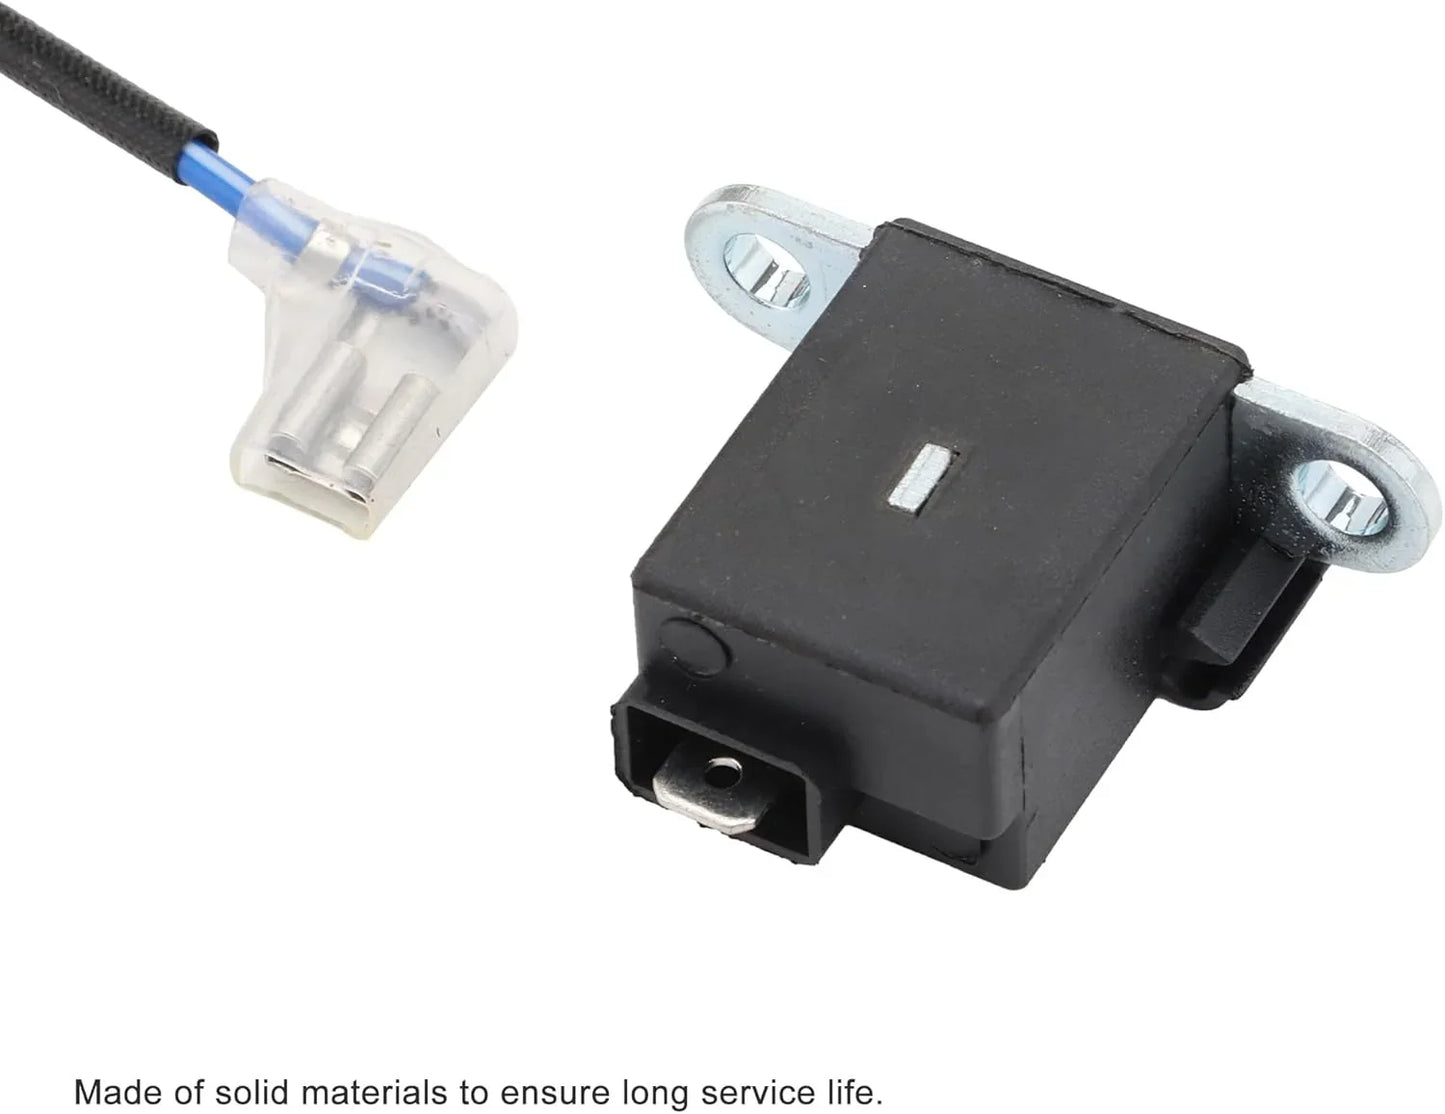
This magneto stator is intended for Honda TRX400 Rancher 400 AT (2004-2007). It is best matched to original part number(s) 31120-HN7-003, 31120-HN7-000, 2004-2007. Key physical/spec details from the product data include Outer Diameter: 92mm (3.62"), Inner Diameter: 35mm (1.38"), Thickness: 19mm (0.75"). Use the compatibility table and product photos together before ordering.
Do I need to match the OEM part number?
Yes. Match your original part number to 31120-HN7-003, 31120-HN7-000, 2004-2007 before purchase. For this magneto stator, also compare the OEM number, outer/inner diameter, core height or thickness, plug shape, wire count, mounting holes, pickup position, and rubber grommet style. This is especially important for Honda TRX400 models because similar model names can use different parts by year or trim.
What models or situations does this part not fit?
Do not order this magneto stator for machines outside the listed compatibility, or for units with different plug layouts, pickup-coil positions, wire counts, stator diameters, or charging/ignition configurations. If your original part number does not cross-reference with 31120-HN7-003, 31120-HN7-000, 2004-2007, treat the fitment as unconfirmed. Model years outside 2004–2007, 2004, 2007 should be verified separately. Do not rely only on the model name or engine size.
What should I check before ordering?
Before ordering, compare your original part with the photos and check the OEM number, outer/inner diameter, core height or thickness, plug shape, wire count, mounting holes, pickup position, and rubber grommet style. Confirm OEM/cross-reference number(s): 31120-HN7-003, 31120-HN7-000, 2004-2007. Recheck listed specs such as Outer Diameter: 92mm (3.62"), Inner Diameter: 35mm (1.38"), Thickness: 19mm (0.75"). If any connector, mounting point, size, or year detail is different, confirm fitment before installation.